Masterclass Guide
Gas Grill Deep Clean Guide: Step-by-Step from a Pro
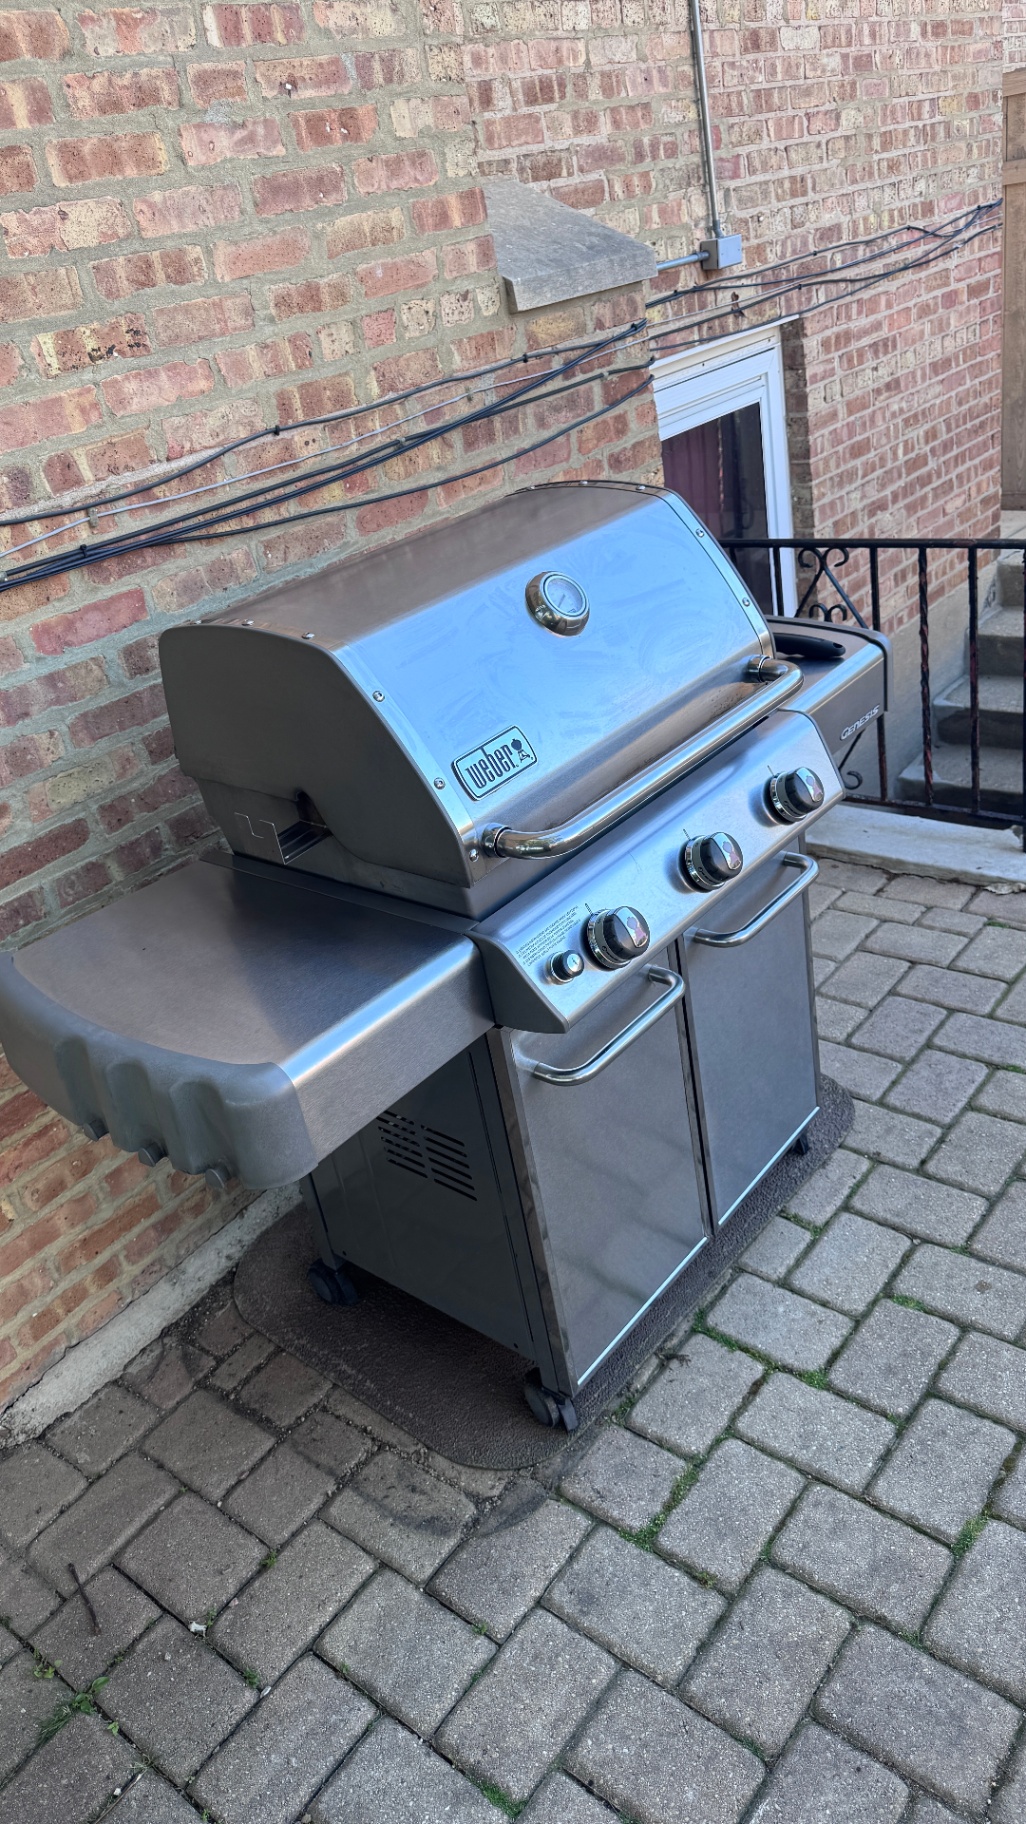
If your gas grill is starting to look like a science experiment, or your steaks are tasting a bit too much like last month's salmon, it's time for a deep clean. As a professional detailer serving Chicago's North Shore, I see a lot of neglected grills. A dirty grill isn't just gross: it's a grease-fire hazard, it pushes burners off balance, and it ruins how your food tastes. Below is the community-tested, brutally practical playbook for bringing yours back to life, and the schedule that keeps it there.
Mythbusters & safety warnings
Before you start scrubbing, let's clear up a few misconceptions that float around grilling forums.
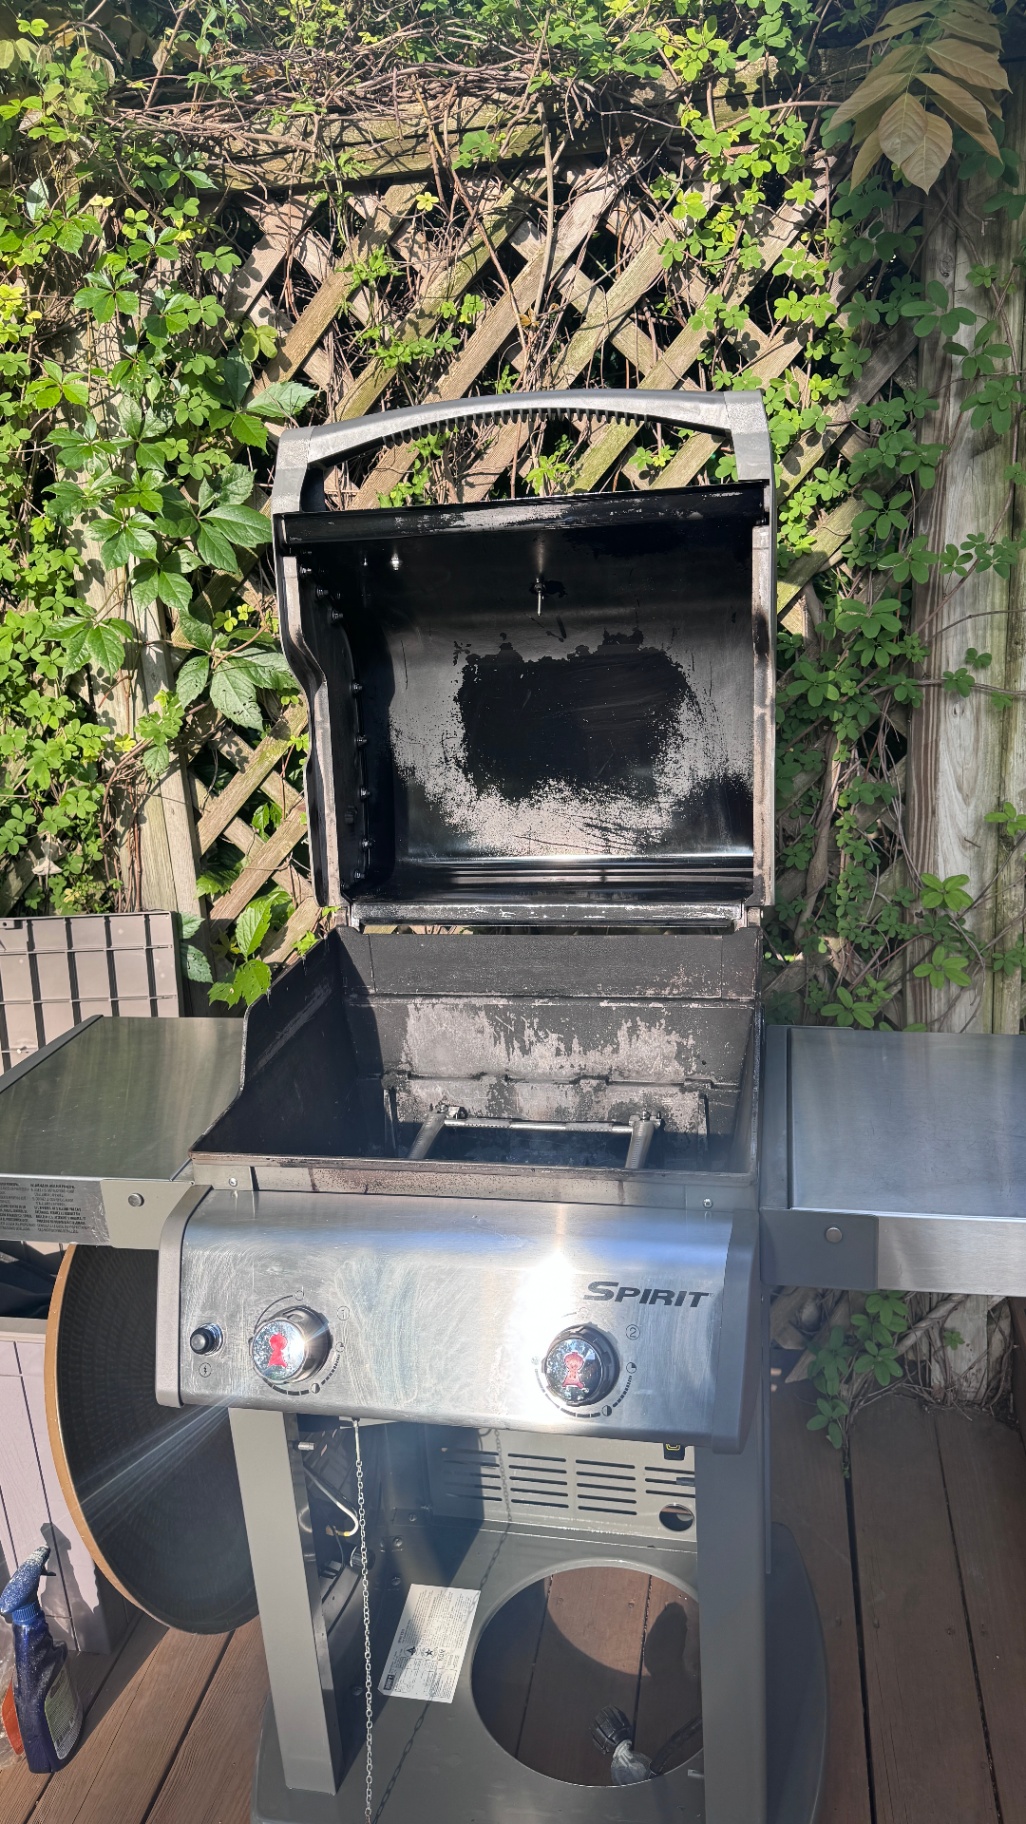
- The "peeling paint" panic. If you open the lid and see what looks like black paint flaking off, don't panic. Manufacturers don't paint the inside of grill lids. You're looking at carbonized grease, smoke and grease vapors baked onto the metal. Scrape it off with a plastic putty knife.
- The danger of cheap wire brushes. Cheap wire brushes shed tiny steel bristles that can end up in food and cause serious injury. Swap them for a wooden grill scraper, a pumice stone, or a tight ball of aluminum foil held with long tongs.
- The shop-vac mistake. A wet/dry shop vac is your best friend for the firebox, but empty it first. Mixing fresh grease and hot ash with old sawdust or cat litter is how vacuums catch fire.
- Skip the oven cleaner. Caustic oven cleaners strip protective coatings and can leave toxic residue on cooking surfaces. Dawn dish soap and hot water do the job.
The DIY detailer's toolkit
Don't start taking the grill apart until you have the right tools. Using the wrong chemical can strip coatings or leave residue on the surfaces your food touches.
| Tool or supply | What it's for |
|---|---|
| Heavy-duty rubber gloves | Protect hands from sharp metal and heavy grease. |
| Dawn dish soap / Powerwash | Break down grease without harsh oven cleaners. |
| Plastic putty knife | Scrape firebox and lid without scratching metal. |
| Nylon bristle brush | Scrub grates safely (on a cool grill only). |
| Paperclip or small drill bit | Clear clogged burner ports, turned by hand, not in a drill. |
| Wet/dry shop vac | Vacuum loose ash and scraped carbon from the firebox. |
| Microfiber towels | Polish the exterior without lint or scratches. |
| High-smoke cooking oil | Re-season cast iron grates (avocado or canola). |
Why grill cleaning matters
Old grease and carbon don't just look bad, they change how your grill performs. Heavy buildup blocks burner ports, traps moisture that rusts steel, and leaves a stale, smoky flavor on your food. More importantly, a layer of dried grease in the firebox is the single biggest cause of grill flare-ups and grease fires.
How grease buildup causes flare-ups
When fat drips off your food, it lands on hot heat tents and collects in the firebox. Each cookout adds another layer. Once that layer ignites, the flames climb straight back up through the grates, scorch your food, and can damage burners and igniters. A clean firebox lets grease drain to the catch pan instead of pooling where it can burn.
What parts of a gas grill need cleaning
- Cooking grates: scrubbed to bare metal so food releases cleanly and sears properly.
- Flavorizer bars / heat tents: the most overlooked part. They protect burners and vaporize drippings.
- Burner tubes: ports get clogged with carbon and spider webs. Clogged ports mean uneven heat and yellow flames.
- Firebox interior: scrape down loose carbon, vacuum out ash, degrease the walls.
- Grease tray and catch pan: empty, scrape, and reline so grease drains where it should.
- Exterior: stainless polished with the grain; enamel wiped down with non-abrasive cleaner.
The step-by-step gas grill deep clean
Plan on 90 minutes to three hours depending on how neglected the grill is. Work outside, wear gloves, and keep a trash bag handy.
Step 1, The high-heat burn-off
Before you scrub, let the fire do the heavy lifting. Run all burners on HIGH with the lid closed for 10–15 minutes. This carbonizes the leftover organic matter on the grates and turns it into white ash you can brush off. Turn the grill off, let it cool completely, and disconnect the gas.
Step 2, The "bubble bath" soak
Pull the cooking grates and the flavorizer bars (the metal tents covering the burners). Fill a large plastic tub with hot water and Dawn, submerge the parts, and soak for 30 minutes. Scrub with a non-wire abrasive pad. Skip oven cleaner, it can strip the protective finish and leave residue on cooking surfaces.
Step 3, Inspect & unclog the burner tubes
Look closely at the burner tubes. If the tiny ports are clogged with grease, carbon, or spider webs, your flames will be yellow and weak instead of tight and blue. Use a paperclip, a pushpin, or a small drill bit (turned by hand, never chucked in a drill) to clear each port.
Step 4, The firebox (the belly of the beast)
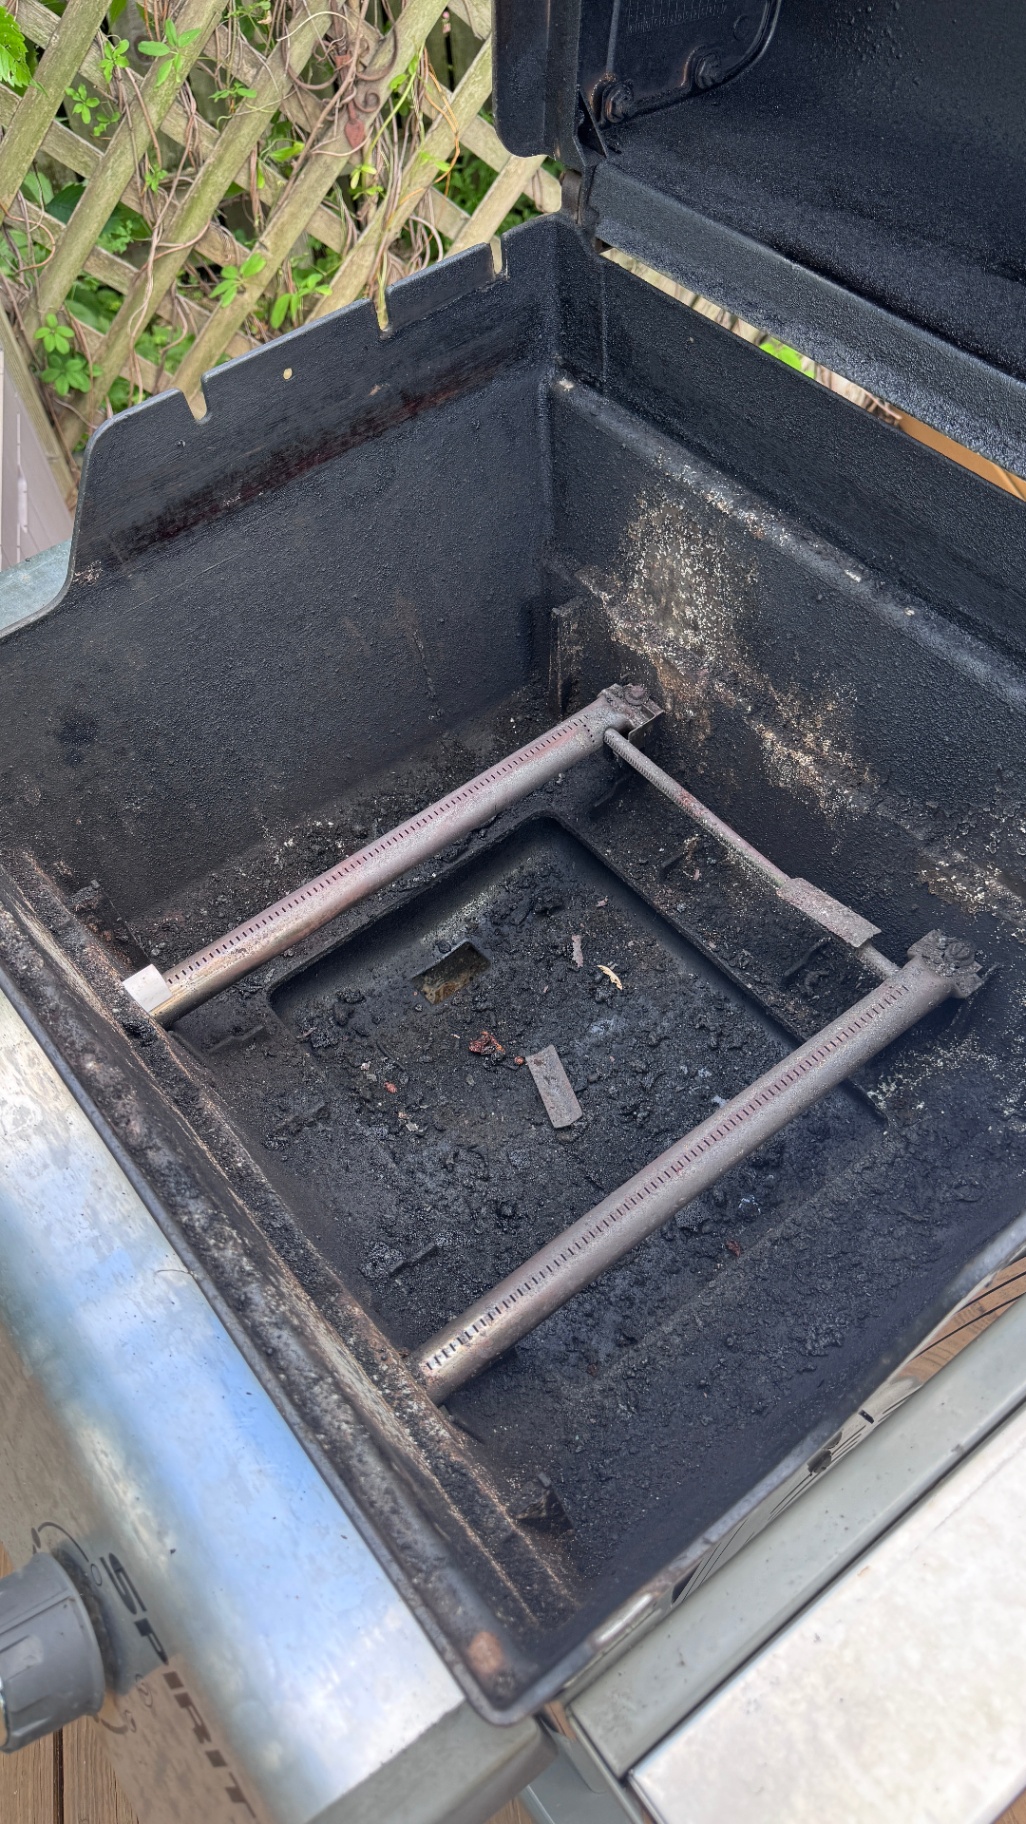
This is where grease fires are born. With the internal guts removed, take your plastic putty knife and aggressively scrape the thick black sludge off the walls and down into the grease chute. Then run the (emptied) shop vac to suck up the loose, dry carbon and ash. Don't worry about getting the walls shiny , you're after a dry, scraped surface, not a polished one.
Step 5, Empty the grease tray & catch pan
Pull the bottom drip pan. Throw away the disposable aluminum liner (or scrape the permanent pan completely clean) and replace it. Neglecting this tray is the number-one cause of uncontrollable flare-ups, and it takes about 60 seconds.
Step 6, Reassembly & exterior polish
Dry everything fully before it goes back in, moisture trapped under flavorizer bars is what rusts burners. Reinstall the burners, bars, and grates. Then move on to the outside (see the material-specific notes below). Reconnect gas, fire it up for a 5-minute test burn, and look for tight, blue flames across every zone.
Material-specific care
Cast iron grates
Treat them like a cast-iron skillet. Dry completely after washing and wipe down with a light coat of high-smoke cooking oil , avocado or canola, to prevent rust. A 30-second re-season after every deep clean adds years to a set of grates.
Stainless steel exteriors
Use warm water and Dawn, or a dedicated stainless cleaner. Always wipe with the grain of the stainless. Wiping in circles leaves permanent micro-scratches that catch light forever.
Porcelain enamel lids & bowls
Wipe down with a non-abrasive cloth and mild soap. No scouring pads, no wire wool, once you crack the enamel, it rusts from the chip outward.
The ideal grill maintenance schedule
- After every cook: burn off the grates on high for 10–15 minutes, then brush with a wooden or nylon scraper.
- Every month in season: pull the grates and flavorizer bars, wipe down the firebox, empty the grease tray.
- Once or twice a year: a full deep clean with burners out, firebox stripped, and exterior polished. This is the service most homeowners want done by a pro.
When to call in the pros
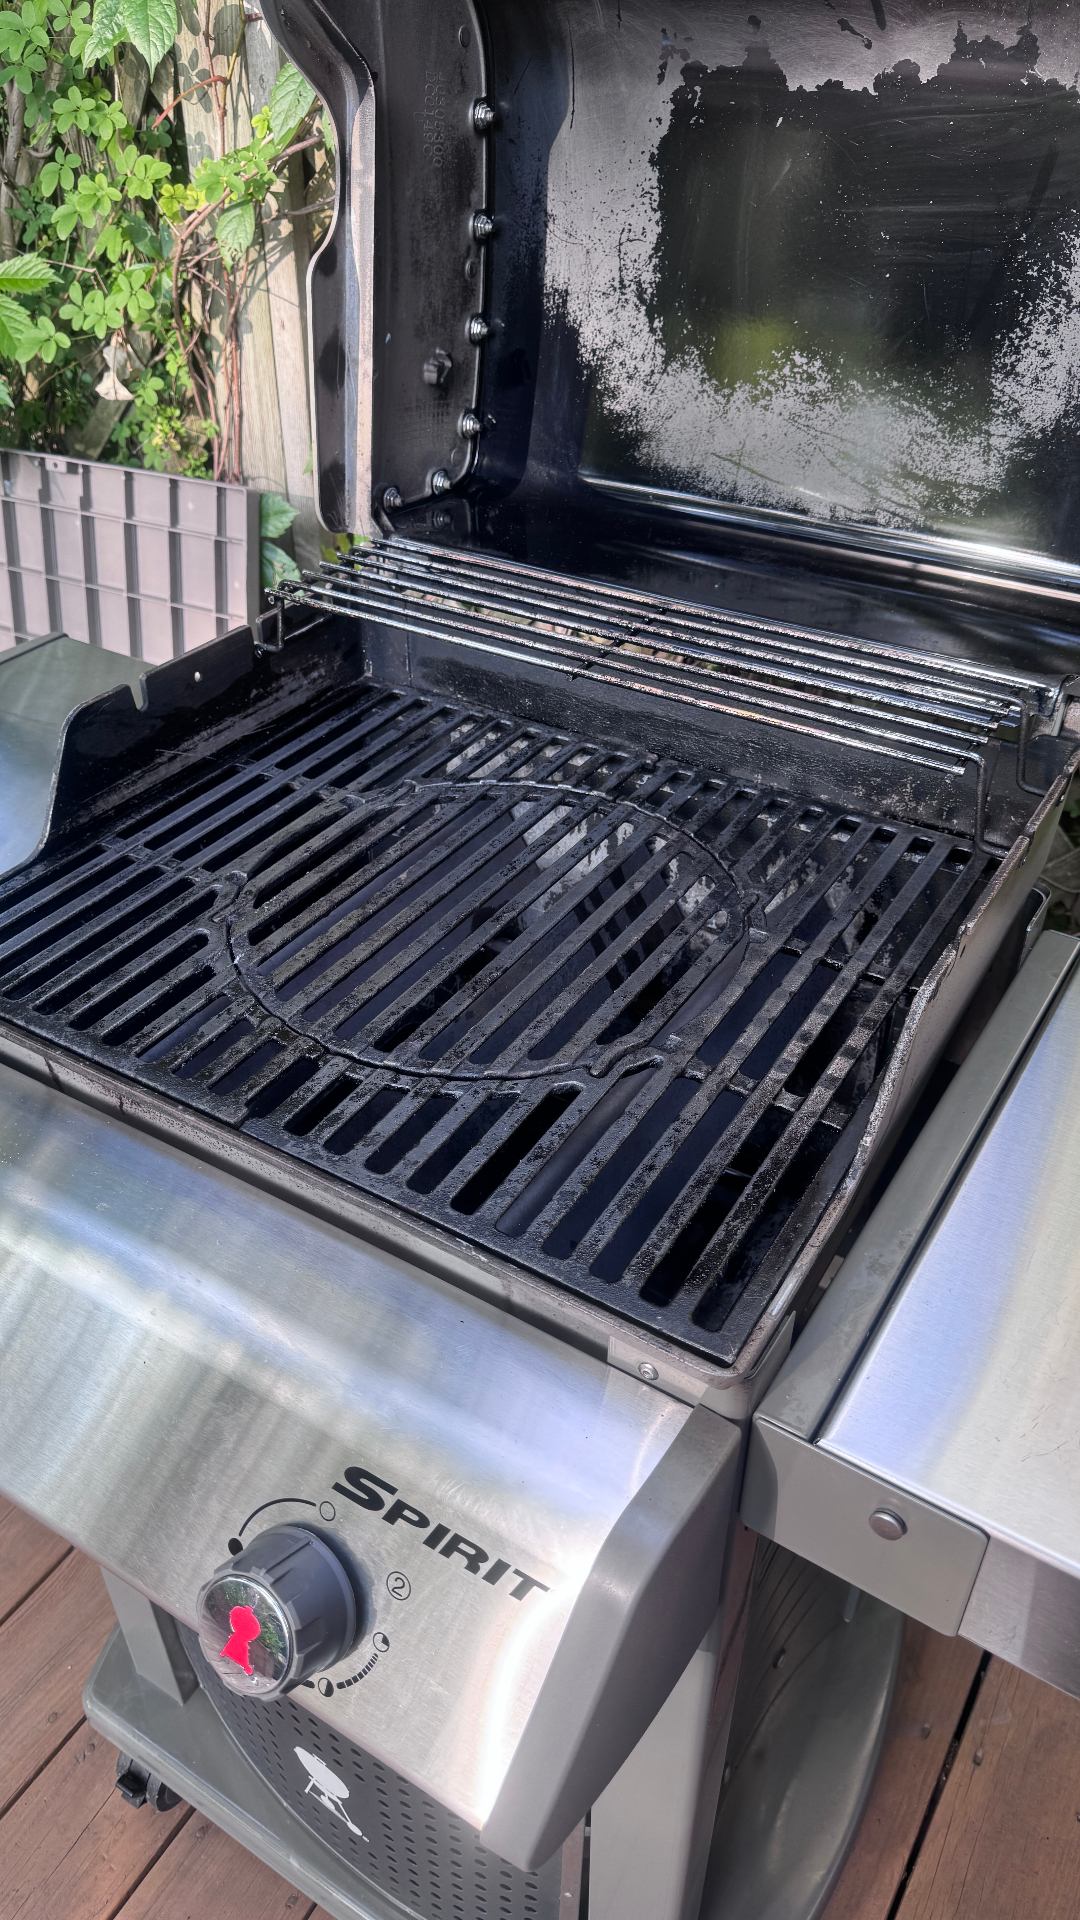
If your grill has flare-ups, uneven heat, yellow flames, a strong stale smell, or visible rust on grates, it's past time. If you haven't pulled the burners out in a year or more, the same answer. A pro deep clean takes 90 minutes to a few hours, brings the grill back to bare metal, and is usually cheaper than replacing parts or replacing the whole grill sooner than you have to.
At Campbell Grill Detail we recommend the exact level of service your grill actually needs, zero upsells:
- Tune-up ($79): quick refresh for a recently cleaned grill, grates scrubbed, flavorizer bars wiped, exterior polished.
- Deep Clean ($129): our most popular service. A full reset for a season of cookouts, including burner removal and firebox degreasing.
- Restoration ($199+): bring a neglected grill back to like-new, enamel buffing, stainless polish, and OEM part replacement quoting.
We serve Evanston, Skokie, Wilmette, Rogers Park, Lincolnwood, Morton Grove, and the rest of Chicago's North Shore. See our full restoration service for what's included, or check the before-and-after gallery on the homepage.
Want us to handle it?
Text a few photos of your grill, front, inside, and grates, to (312) 838-1348 and we'll send a firm price before you ever book. Usually same day.